How to Repair a Chipped Bathtub
- Home
- >
- Help & Advice Centre
- >
- How to Repair a Chipped Bathtub
A bathtub is a central feature of any bathroom, so it’s natural to think a chipped bathtub is taking the shine off your space.
Bathtubs are made of a variety of materials including porcelain, enamel, ceramic, acrylic and fibreglass – some being more durable than others. But no matter what your bath is made out of, there will be a kit available to help you fix the chip if you fancy taking on the job yourself. Here’s how.
Head to the bathroom section of your local hardware shop and pick out an epoxy or resin-based chip repair kit, suitable for the material of your bath. It will contain the substances you’ll need to mix together to create the solution required to fix your bath.
The majority of kits come in white, which is the most common colour of bathtub, but more colours are being introduced to suit the wider variety of bathtub colours available today.
 Clean and Dry the Chipped Area
Some chip repair kits will advise you to sand down the chipped area before repairing, while others will suggest doing it once you’ve applied the solution – read your instructions carefully to ensure you’re taking all the right steps, and if using sandpaper, be careful not to scratch any other parts of your bath.
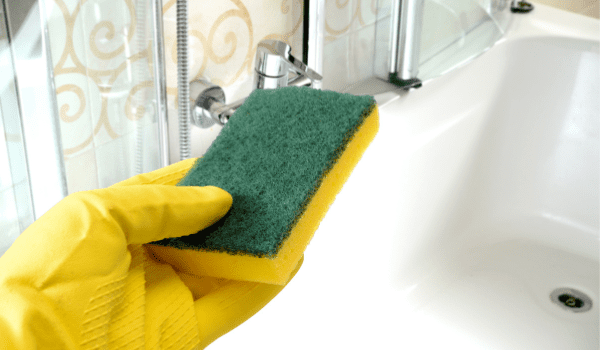
You’ll need to clean the damaged area with a sponge and soap or bathtub cleaner, then dry it. You could also use acetone or rubbing alcohol to clean the area – just ensure to use something that removes grease and soap scum.
Following the instructions within your repair kit, you’ll need to mix together the two components – one is usually a resin, and one is a hardener – to create the resin needed to fix your chip. Some kits come with a mixing tray and something to stir the mix with but if not, use something you’re happy to dispose of after use. Do this part of the job on some old newspaper or bedsheets to protect the rest of your space.
Using a small spatula or paint brush, apply to the mixture to the chip. Spread a thin layer, working in one direction and use something flat – like an old credit card – to iron out any mixture that pools.
This is the trickiest part of the job, and is quite intricate, so be patient and take your time, and ensure the room is well lit so you can see what you’re doing. Some instructions recommend using a very small amount of resin at first, and then adding more layers as it’s harder to remove if you apply too much.
Depending on your kit, the resin will take anywhere between two and 24 hours to fully dry. Ensure that during this time, the bathtub isn’t used as any water or moisture on the resin will affect the curing process. Once the mixture has fully dried, sand it down so it feels the same texture as the rest of your tub. You may feel, at this point, that you need to repeat the process and add another layer. Keep repeating the process until you’re satisfied the chip is repaired.
If your bath has a number of chips, or is in particularly poor condition, you might benefit from a refinishing kit rather than a chip repair kit. This will contain everything you need to refurb your whole tub, including sandpaper, cleaner, primer and paint as well as any accessories. Buy a good quality refinishing kit to ensure a long-term fix and just like a chip repair kit, ensure it’s suitable for the material of your bathtub.
For many, the idea of self-repairing a bathtub is overwhelming; others might not have the time to dedicate to it, while some will simply prefer the services of an expert in bathrooms and bathtub repair. If this is the case, call one of our Metro Plumb experts on 0808 250 9949 who’re available 24/7/365 to help put life back into your bathtub.